You bought a Linux VPS from Alavps. That’s exciting! But now what? First, grab your welcome email. It should have your server’s IP address, username (usually root), and password. Log in to your hosting provider’s dashboard. It’s the control center for your VPS—like the cockpit of a plane. Get familiar with it. It’s where you’ll restart, reinstall, or shut down your server if needed.
First Things First: Accessing Your VPS for the Very First Time
Table of Contents
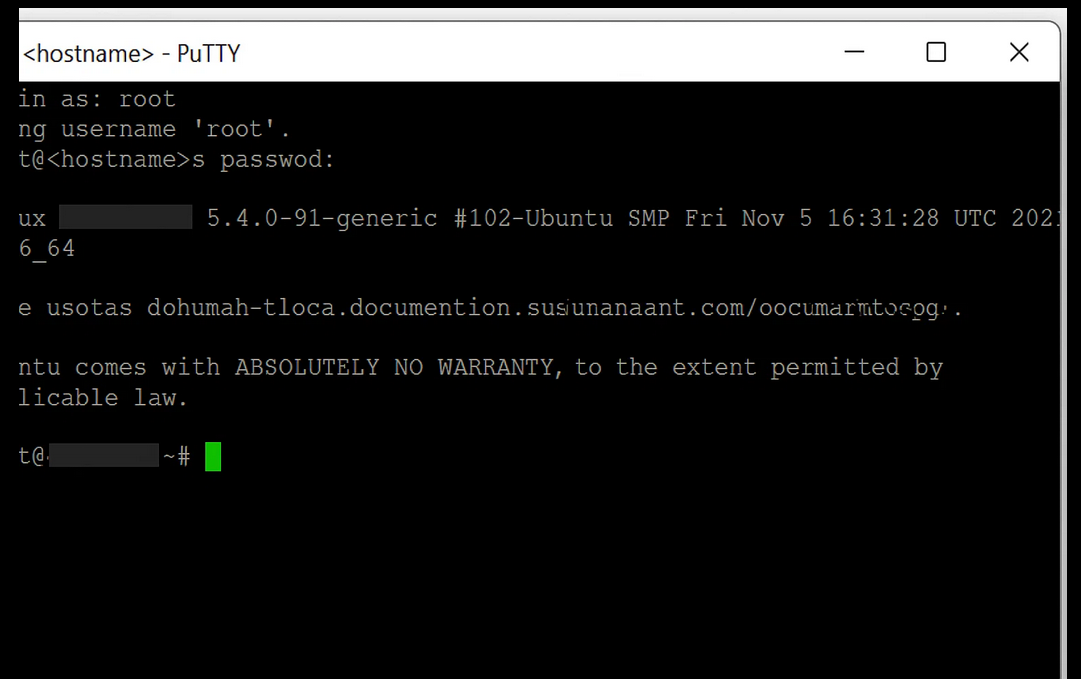
To control your VPS, you’ll connect using SSH—like a remote terminal. On Windows, tools like PuTTY or Windows Terminal do the trick. macOS and Linux? Just open the terminal and type: ssh root@your-server-ip. Double-check your IP and password. If it fails, don’t panic. It might be a typo or firewall rule. Try again carefully.
Update, Upgrade, and Patch Immediately
Out of the box, your server might be outdated. That’s risky. Run this right away: apt update && apt upgrade -y (for Ubuntu/Debian) or yum update -y (for CentOS). These commands patch security bugs and update software. Better yet, set up automatic updates using unattended-upgrades. Safe and stress-free.
Set Up a Strong Foundation: Creating a Non-Root User
Using root all the time is dangerous. One wrong command and—poof!—your system is broken. Create a new user: adduser yourname Give them admin powers: usermod -aG sudo yourname Now log in as that user. It’s safer, and more professional.
Securing Your Entry Point: Changing the SSH Port and Settings
Bots love attacking port 22 (the default SSH port). So change it. Edit /etc/ssh/sshd_config and set Port 2222 (or any unused number). Also set PermitRootLogin no and restart SSH. Want top-tier security? Use SSH keys instead of passwords.
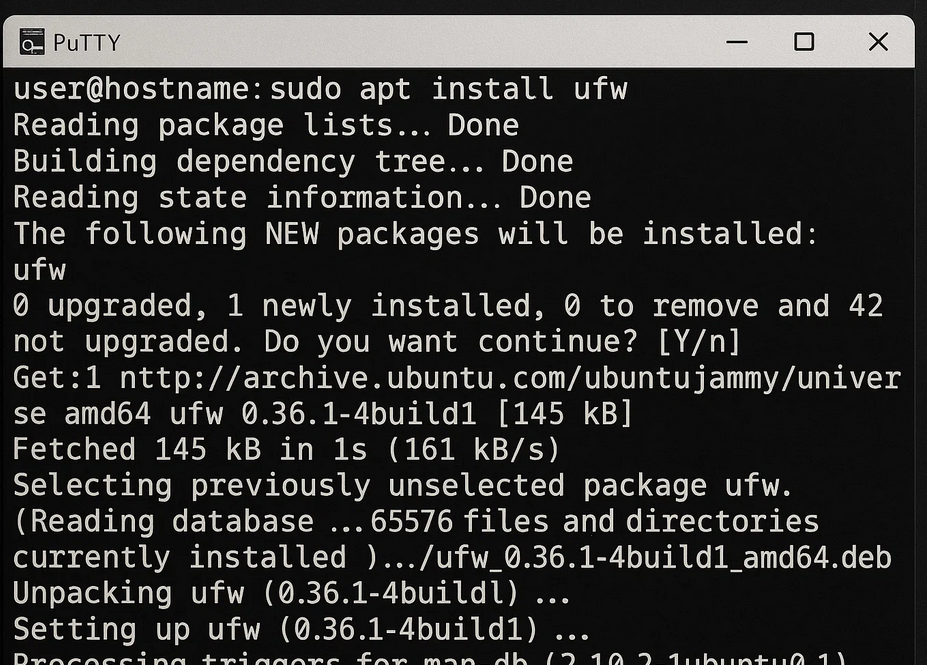
Installing a Firewall: Your VPS’s Digital Doorman
Your server is like a house. Without a door, anyone can walk in. Install a firewall. On Ubuntu, use ufw. Allow SSH: ufw allow 2222/tcp Then enable it: ufw enable Done! You just locked the doors.
Keeping Tabs: Installing Basic Monitoring Tools
Servers get stressed too. Monitor them. Use htop for live performance. fail2ban blocks bad login attempts. And check /var/log/syslog often—it tells stories your server doesn’t say out loud.
Customizing Your VPS Hostname and Timezone
Give your server a name. Something like web1.yourdomain.com. Set it with hostnamectl set-hostname yourname Set your timezone: timedatectl set-timezone Asia/Kolkata (or your region). Your logs will thank you.
Setting Up SSH Keys for Hassle-Free, Secure Access
SSH keys = magic keys to your server. Generate one: ssh-keygen Copy it: ssh-copy-id user@your-server-ip Now you log in without passwords. Fast, safe, smooth. Rotate or revoke them when staff changes.
Choosing and Installing Essential Software Packages
Need a web server? Go for Apache or Nginx. Database? Try MySQL or PostgreSQL. Languages? PHP, Node.js, Python—it’s your playground. Use your package manager (apt, yum, dnf) to install them easily.
Configuring a Basic Web Stack (LAMP, LEMP, or MEAN)
LAMP = Linux + Apache + MySQL + PHP LEMP = Linux + Nginx + MySQL + PHP MEAN = MongoDB + Express + Angular + Node.js Pick your stack based on what you plan to build. Follow simple guides—many are just copy-paste commands.
DNS Setup and Domain Pointing Made Simple
Got a domain? Point it to your VPS. In your domain dashboard, set an A record to your VPS IP. Want email? Add MX records. Need subdomains? Add CNAMEs. DNS sounds complex, but it’s just connecting names to numbers.
Creating Automated Backups Before It’s Too Late
Accidents happen. Backups save the day. Use rsync or tar for manual backups. Automate them with cron jobs: crontab -e Store copies offsite—cloud storage, another VPS, or local drives.
Setting Up Swap Space for Better Performance
Low RAM? Add swap. It’s like backup memory. Create a swap file: fallocate -l 1G /swapfile Enable it: mkswap /swapfile && swapon /swapfile It helps your VPS breathe when memory runs low.
Installing and Configuring a Control Panel (Optional)
Hate terminal commands? Use a control panel. Try free ones like Hestia or paid ones like cPanel. They let you manage sites, databases, emails with clicks instead of code.
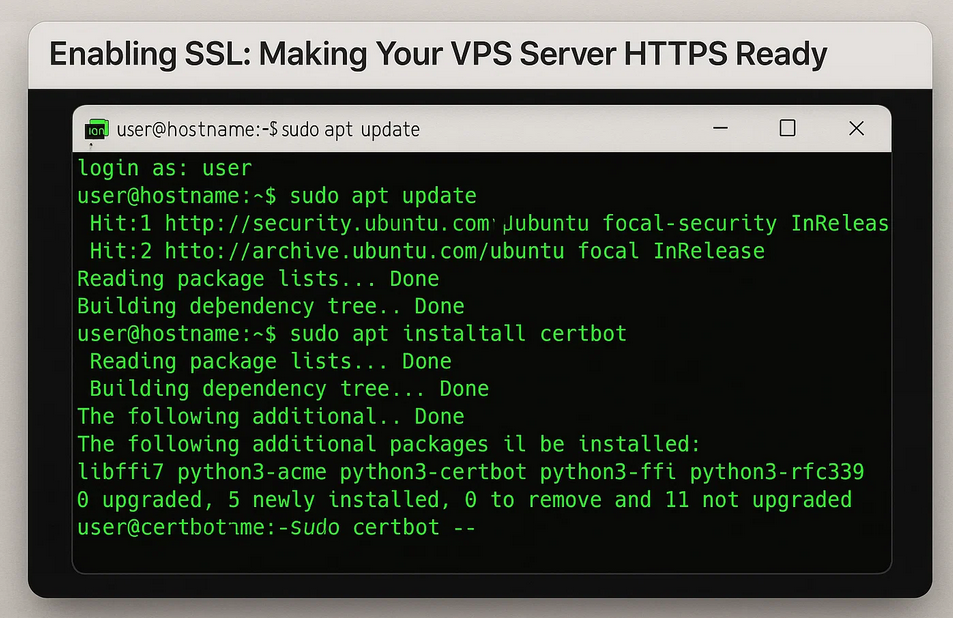
Enabling SSL: Making Your Server HTTPS Ready
HTTPS means secure. And Google likes that. Use Let’s Encrypt for free SSL: certbot --nginx or certbot --apache Renewals are automatic. No need to lift a finger later.
Hardening Your Server Against Attacks
Turn off what you don’t use. Less stuff = less risk. Disable FTP if unused. Run lynis audit system to find weak spots. Security is a habit. Not just a one-time setup.
Testing Your Configuration: Simulating Real-World Use
Use ab (Apache Benchmark) or stress to push your server. How does it behave under load? Testing now avoids pain later. You want it solid before users show up.
Creating a Routine Maintenance Schedule
Every week, check for updates and logs. Every month, test backups. Automate tasks with cron jobs. Your server should run like clockwork.
Document Everything: Creating a Server Journal
Write down changes. Every tweak. Every fix. Use Notepad, Google Docs, or version control like Git. You’ll forget things. A journal won’t.
Final Thoughts: Growing Into Your VPS Setup
Your VPS is just the start. As your website or app grows, you need to upgrade your vps as well. Scale up. Add more servers. Tweak performance. And never stop learning. The Linux world is huge and awesome.