Vercel and Netlify are great until you hit their free tier limits — bandwidth caps, function timeouts, no persistent processes, no background jobs. A free VPS gives you a real server you fully control, and deploying a Next.js or React app on one takes under 20 minutes.
This guide covers everything: Node.js install, building your app, keeping it alive with PM2, routing traffic through Nginx, and locking it down with HTTPS. Works for Next.js 13/14/15 with the App Router and standard Create React App projects.
Why a VPS Beats Vercel and Netlify Free Tiers
Table of Contents
Vercel and Netlify are convenient for static sites. The moment your app needs a persistent process, a database connection that stays open, background workers, or WebSockets, their free tiers fall apart. A VPS doesn’t have any of those restrictions.
| Feature | Free VPS | Vercel Free | Netlify Free |
|---|---|---|---|
| Monthly bandwidth | Generous fair-use | 100 GB | 100 GB |
| Serverless function timeout | No limit (persistent) | 10 seconds | 10 seconds |
| WebSocket support | Yes | No | No |
| Background jobs / cron | Yes | Limited | No |
| Custom ports | Yes | No | No |
| Cold starts | None | Yes | Yes |
| Full Next.js API routes | Yes | Partial | Partial |
| Root server access | Yes | No | No |
Best for: Developers who want zero cold starts, full Next.js API route support, WebSocket apps, or anything that needs a process running 24/7 without time limits.
What You Need Before You Start
- A VPS running Ubuntu 22.04 (20.04 and 24.04 work too) — a free Linux VPS is enough for most apps
- Root or sudo SSH access to the server
- A Next.js or React app ready to deploy (local repo or GitHub)
- A domain name pointed to your VPS’s IP (needed for HTTPS — optional but recommended)
- About 20 minutes
No control panel, no cPanel, no GUI required. Everything runs from the terminal.
Step 1 — Get a Free VPS
You need a VPS with a public IP, SSH access, and Ubuntu pre-installed. AlaVPS’s free tier gives you 2 vCPU, 8 GB DDR5 RAM, and 128 GB NVMe storage — well above what a Next.js app needs at launch.
Sign up at AlaVPS Free Linux VPS, pick Ubuntu 22.04, choose a location close to your users, and you’ll have SSH credentials within a few minutes. No credit card required.
Once your VPS is ready, SSH in:
ssh root@YOUR_SERVER_IPBefore anything else, run a quick update:
apt update && apt upgrade -yStep 2 — Install Node.js on Ubuntu
Don’t use the default Ubuntu Node.js package — it’s outdated. Use the NodeSource repository to get a current LTS version:
# Install Node.js 20 LTS (recommended for Next.js 14/15)
curl -fsSL https://deb.nodesource.com/setup_20.x | sudo -E bash -
sudo apt install -y nodejs

# Verify versions
node --version   # should show v20.x.x
npm --version    # should show 10.x.x
Install PM2 globally — this is what keeps your app running after you close the SSH session:
sudo npm install -g pm2Verify PM2 installed:
pm2 --versionStep 3 — Upload or Clone Your Next.js App
Two options depending on your workflow:
Option A — Clone from GitHub (recommended)
# Install Git if not already present
sudo apt install -y git

# Clone your repo into /var/www
mkdir -p /var/www
cd /var/www
git clone https://github.com/YOUR_USERNAME/YOUR_REPO.git myapp
cd myapp
Option B — Upload via SCP from your local machine
# Run this on your LOCAL machine, not the server
scp -r ./your-nextjs-app root@YOUR_SERVER_IP:/var/www/myapp
Then on the server:
cd /var/www/myappEither way, make sure you’re inside your app directory before the next step.
Step 4 — Install Dependencies and Build
# Install all dependencies from package.json
npm install

# Build the production bundle
npm run build
The build output should end with something like ✓ Compiled successfully or list your page routes. If it errors, it’s almost always a missing environment variable — create a .env.production file in your project root:
nano .env.productionAdd your environment variables one per line:
DATABASE_URL=your_database_url
NEXT_PUBLIC_API_URL=https://yourdomain.com/api
Then re-run npm run build.
For plain React apps (Create React App): the build command is the same — npm run build. But instead of running it with PM2, you’ll serve the static build/ folder directly through Nginx. Skip to Step 6 if that’s your setup.
Step 5 — Run the App with PM2
PM2 keeps your Next.js process alive permanently — through SSH disconnects, crashes, and server reboots.
# Start the Next.js app with PM2
pm2 start npm --name "myapp" -- start

# Save the PM2 process list so it survives reboots
pm2 save

# Set PM2 to auto-start on system boot
pm2 startup systemd
PM2 will output a command starting with sudo env PATH=... — copy and run that command exactly as shown. It registers PM2 with systemd.
Check your app is running:
pm2 status        # shows all running processes
pm2 logs myapp    # shows live output / errors
By default, Next.js runs on port 3000. Confirm it’s listening:
curl localhost:3000You should get your app’s HTML back. If you get a connection refused, check pm2 logs myapp for errors.
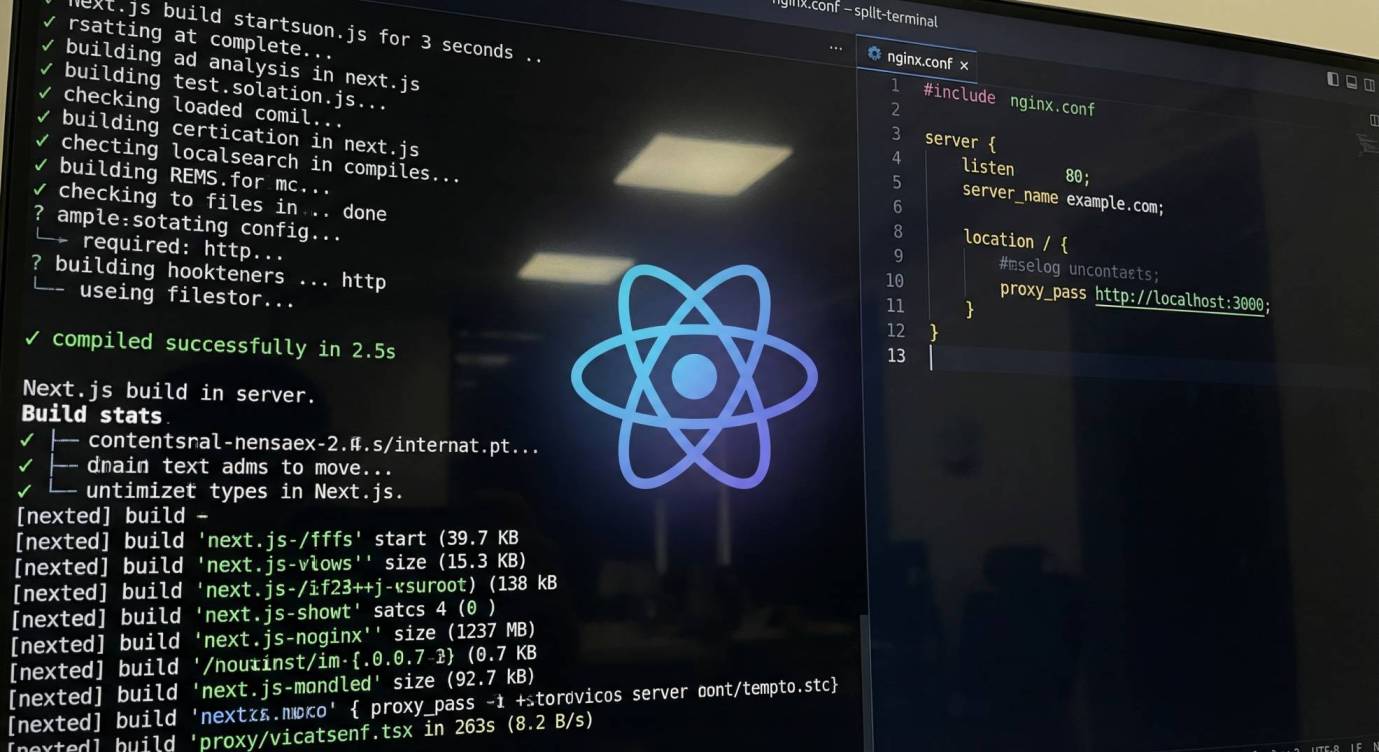
Step 6 — Set Up Nginx as a Reverse Proxy
Next.js runs on port 3000. Nginx sits in front and routes traffic from port 80/443 to it — and handles compression, caching headers, and HTTPS termination.
# Install Nginx
sudo apt install -y nginx

# Create a config file for your app
sudo nano /etc/nginx/sites-available/myapp
Paste this config, replacing yourdomain.com with your actual domain (or your server’s IP if you’re not using a domain yet):
server {
    listen 80;
    server_name yourdomain.com www.yourdomain.com;

    # Enable gzip compression for faster page loads
    gzip on;
    gzip_types text/plain text/css application/json application/javascript text/xml;

    location / {
        proxy_pass http://localhost:3000;
        proxy_http_version 1.1;
        proxy_set_header Upgrade $http_upgrade;
        proxy_set_header Connection 'upgrade';
        proxy_set_header Host $host;
        proxy_cache_bypass $http_upgrade;
        proxy_set_header X-Real-IP $remote_addr;
        proxy_set_header X-Forwarded-For $proxy_add_x_forwarded_for;
        proxy_set_header X-Forwarded-Proto $scheme;
    }

    # Serve Next.js static assets directly for better performance
    location /_next/static/ {
        proxy_pass http://localhost:3000;
        expires 1y;
        add_header Cache-Control "public, immutable";
    }
}
Save and enable it:
# Enable the site
sudo ln -s /etc/nginx/sites-available/myapp /etc/nginx/sites-enabled/

# Remove the default site to avoid conflicts
sudo rm /etc/nginx/sites-enabled/default

# Test the config for syntax errors
sudo nginx -t

# Reload Nginx
sudo systemctl reload nginx
Open port 80 in the firewall:
sudo ufw allow 'Nginx Full'
sudo ufw allow OpenSSH
sudo ufw enable
Visit http://YOUR_SERVER_IP in a browser. Your Next.js app should load.
Step 7 — Add HTTPS with Certbot
This step requires a domain name pointed at your server’s IP. If you’re testing with just an IP, skip this for now.
# Install Certbot and the Nginx plugin
sudo apt install -y certbot python3-certbot-nginx

# Request a certificate and auto-configure Nginx
sudo certbot --nginx -d yourdomain.com -d www.yourdomain.com
Certbot will ask for your email, accept terms, and then automatically update your Nginx config to handle HTTPS and redirect HTTP to HTTPS.
Test auto-renewal:
sudo certbot renew --dry-runCertificates auto-renew every 90 days via a systemd timer — nothing else you need to do.
Step 8 — Test Your Deployment
# Check Nginx is running
sudo systemctl status nginx

# Check your app is running under PM2
pm2 status

# Confirm your app responds on port 3000 locally
curl localhost:3000

# If you have a domain, check the HTTPS endpoint
curl -I https://yourdomain.com
The curl -I response should show HTTP/2 200 and a server: nginx header. If it does, you’re live.
To deploy updates in the future:
cd /var/www/myapp
git pull                 # pull latest code
npm install              # install any new dependencies
npm run build            # rebuild production bundle
pm2 restart myapp        # restart the process
Common Issues and Fixes
| Problem | Likely Cause | Fix |
|---|---|---|
| 502 Bad Gateway from Nginx | Next.js app not running on port 3000 | Run pm2 status and pm2 logs myapp — restart with pm2 restart myapp |
| Build fails with memory error | Not enough RAM for large app builds | Run NODE_OPTIONS=--max_old_space_size=512 npm run build to limit memory usage |
| App crashes after SSH disconnect | PM2 startup not configured | Run pm2 startup systemd and execute the output command, then pm2 save |
| Static files returning 404 | Wrong Nginx proxy path or build not run | Confirm .next/ folder exists in your app directory — if not, run npm run build again |
| Certbot fails — domain not resolving | DNS not propagated yet | Check DNS with dig yourdomain.com — wait for propagation, then rerun Certbot |
| Environment variables not loading | Wrong env file for production | Use .env.production (not .env.local) and rebuild after any changes |
| Port 80 unreachable from browser | UFW or cloud firewall blocking | Check sudo ufw status and your VPS provider’s firewall panel — both need port 80/443 open |
The most common issue is the PM2 startup command not being run after pm2 startup systemd. If your app disappears after a reboot, that’s always the first thing to check.
VPS vs Vercel vs Netlify — Full Comparison
The right choice depends on your app’s architecture. Here’s where each platform actually wins.
| Free VPS (AlaVPS) | Vercel Free | Netlify Free | |
|---|---|---|---|
| Next.js support | Full (all features) | Full (native) | Partial |
| API route timeout | Unlimited | 10 seconds | 10 seconds |
| WebSockets | Yes | No | No |
| Persistent storage | Yes (disk) | No | No |
| Cold starts | None | Yes (serverless) | Yes (serverless) |
| Custom software (Redis, etc.) | Yes | No | No |
| Deploy complexity | Medium (20 min setup) | Very easy (git push) | Very easy (git push) |
| Best for | Full-stack apps, APIs, WebSockets | Static + simple SSR | Static sites |
If your Next.js app is mostly static pages with a few API routes, Vercel free tier is easier. If you’re running database connections, background jobs, WebSockets, or anything that needs a long-running process — a VPS is the only free option that actually works.
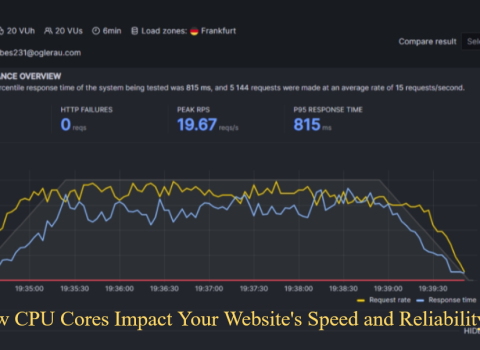
For a deeper look at how server resources affect app performance, the guide on how CPU cores impact website speed is worth reading before you choose your plan size. And once your VPS is running, follow the basic steps after getting a Linux VPS to harden SSH and set up a firewall properly.
That’s a full production-grade Next.js deployment on a free VPS — PM2 for process management, Nginx as a reverse proxy, and HTTPS via Certbot. It handles real traffic, stays up after reboots, and costs nothing to start.